
The final USB game controller. Full size
The final USB game controller. Full size
I had one NES-004E controller lying around I wanted to use with modern computers.
My first idea was to read the NES controller presses with Arduino and then convert these to button press signals on an emulated USB gamepad. Reading the keypresses was pretty straightforward using instructions by Tresi Arvizo.
See the controller interface code for details: nes_controller.pde.
The plan was to use V-USB to emulate a game controller device using the build instructions of this caffeine button project. Well, it turned out that running an USB stack on an ATMEGA328P is hacky at best and requires Zener diodes I didn’t have.
Now you may ask “Doesn’t Arduino already have USB?”
Yes, Arduino has USB support but it works only as a serial connection and can’t act as a game controller HID class device. This means the only way to make your device work as a USB game controller is to run a software USB stack.
I managed to compile Michel Gutlich’s joystick demo using an ancient version 0016 of Arduino, but I couldn’t test if the code worked as a USB device. Anyway, if you plan to try this, make sure you don’t connect any of the NES wires adjacent to a communication pin used by V-USB because this can interfere with USB communication. In my case it caused the V-USB code to get stuck in a dead lock.

An empty chassis of the SpeedLink joystick. Full size
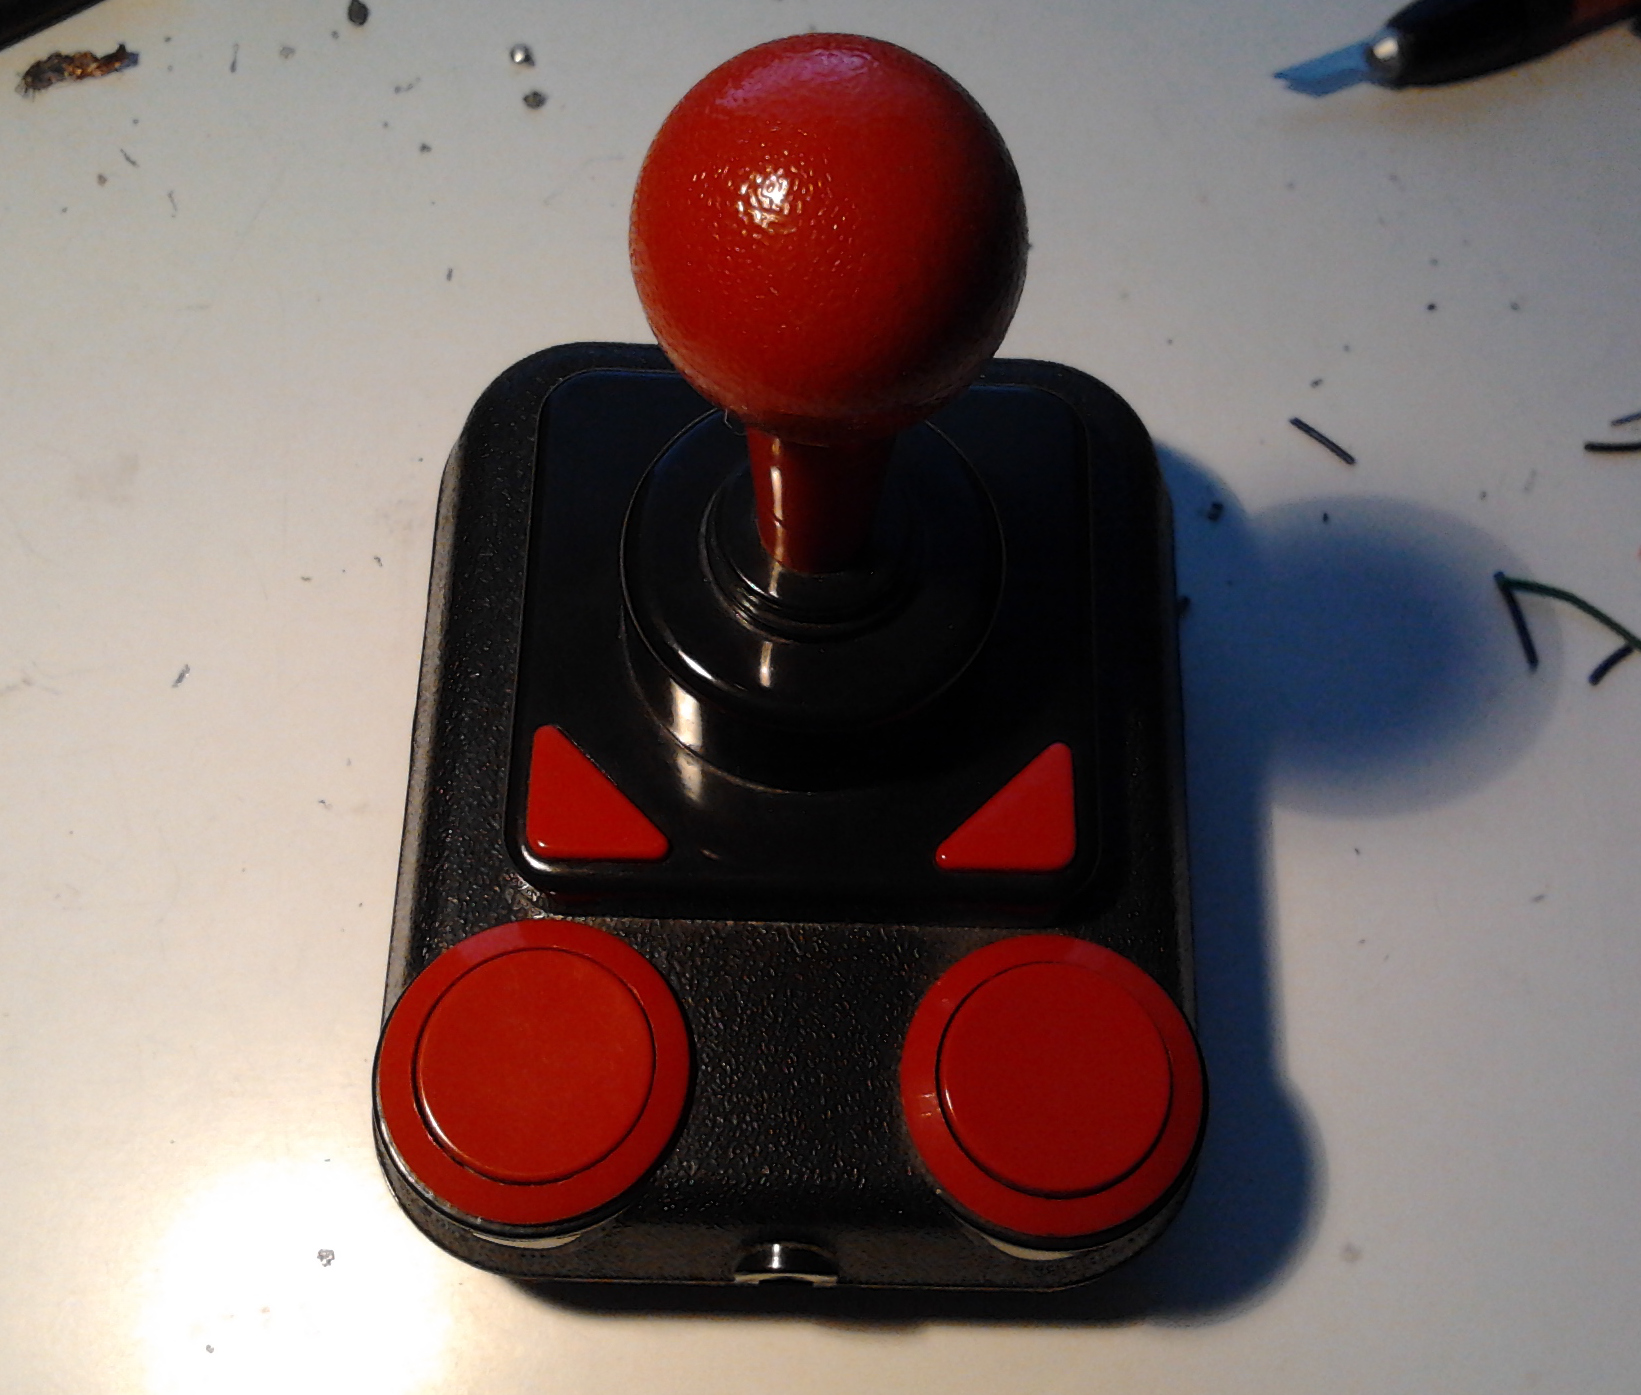
I realized I have an unused SpeedLink Competition Pro USB Joystick lying in a box just waiting to get dismantled. A perfect candidate for an organ donor for the NES controller.
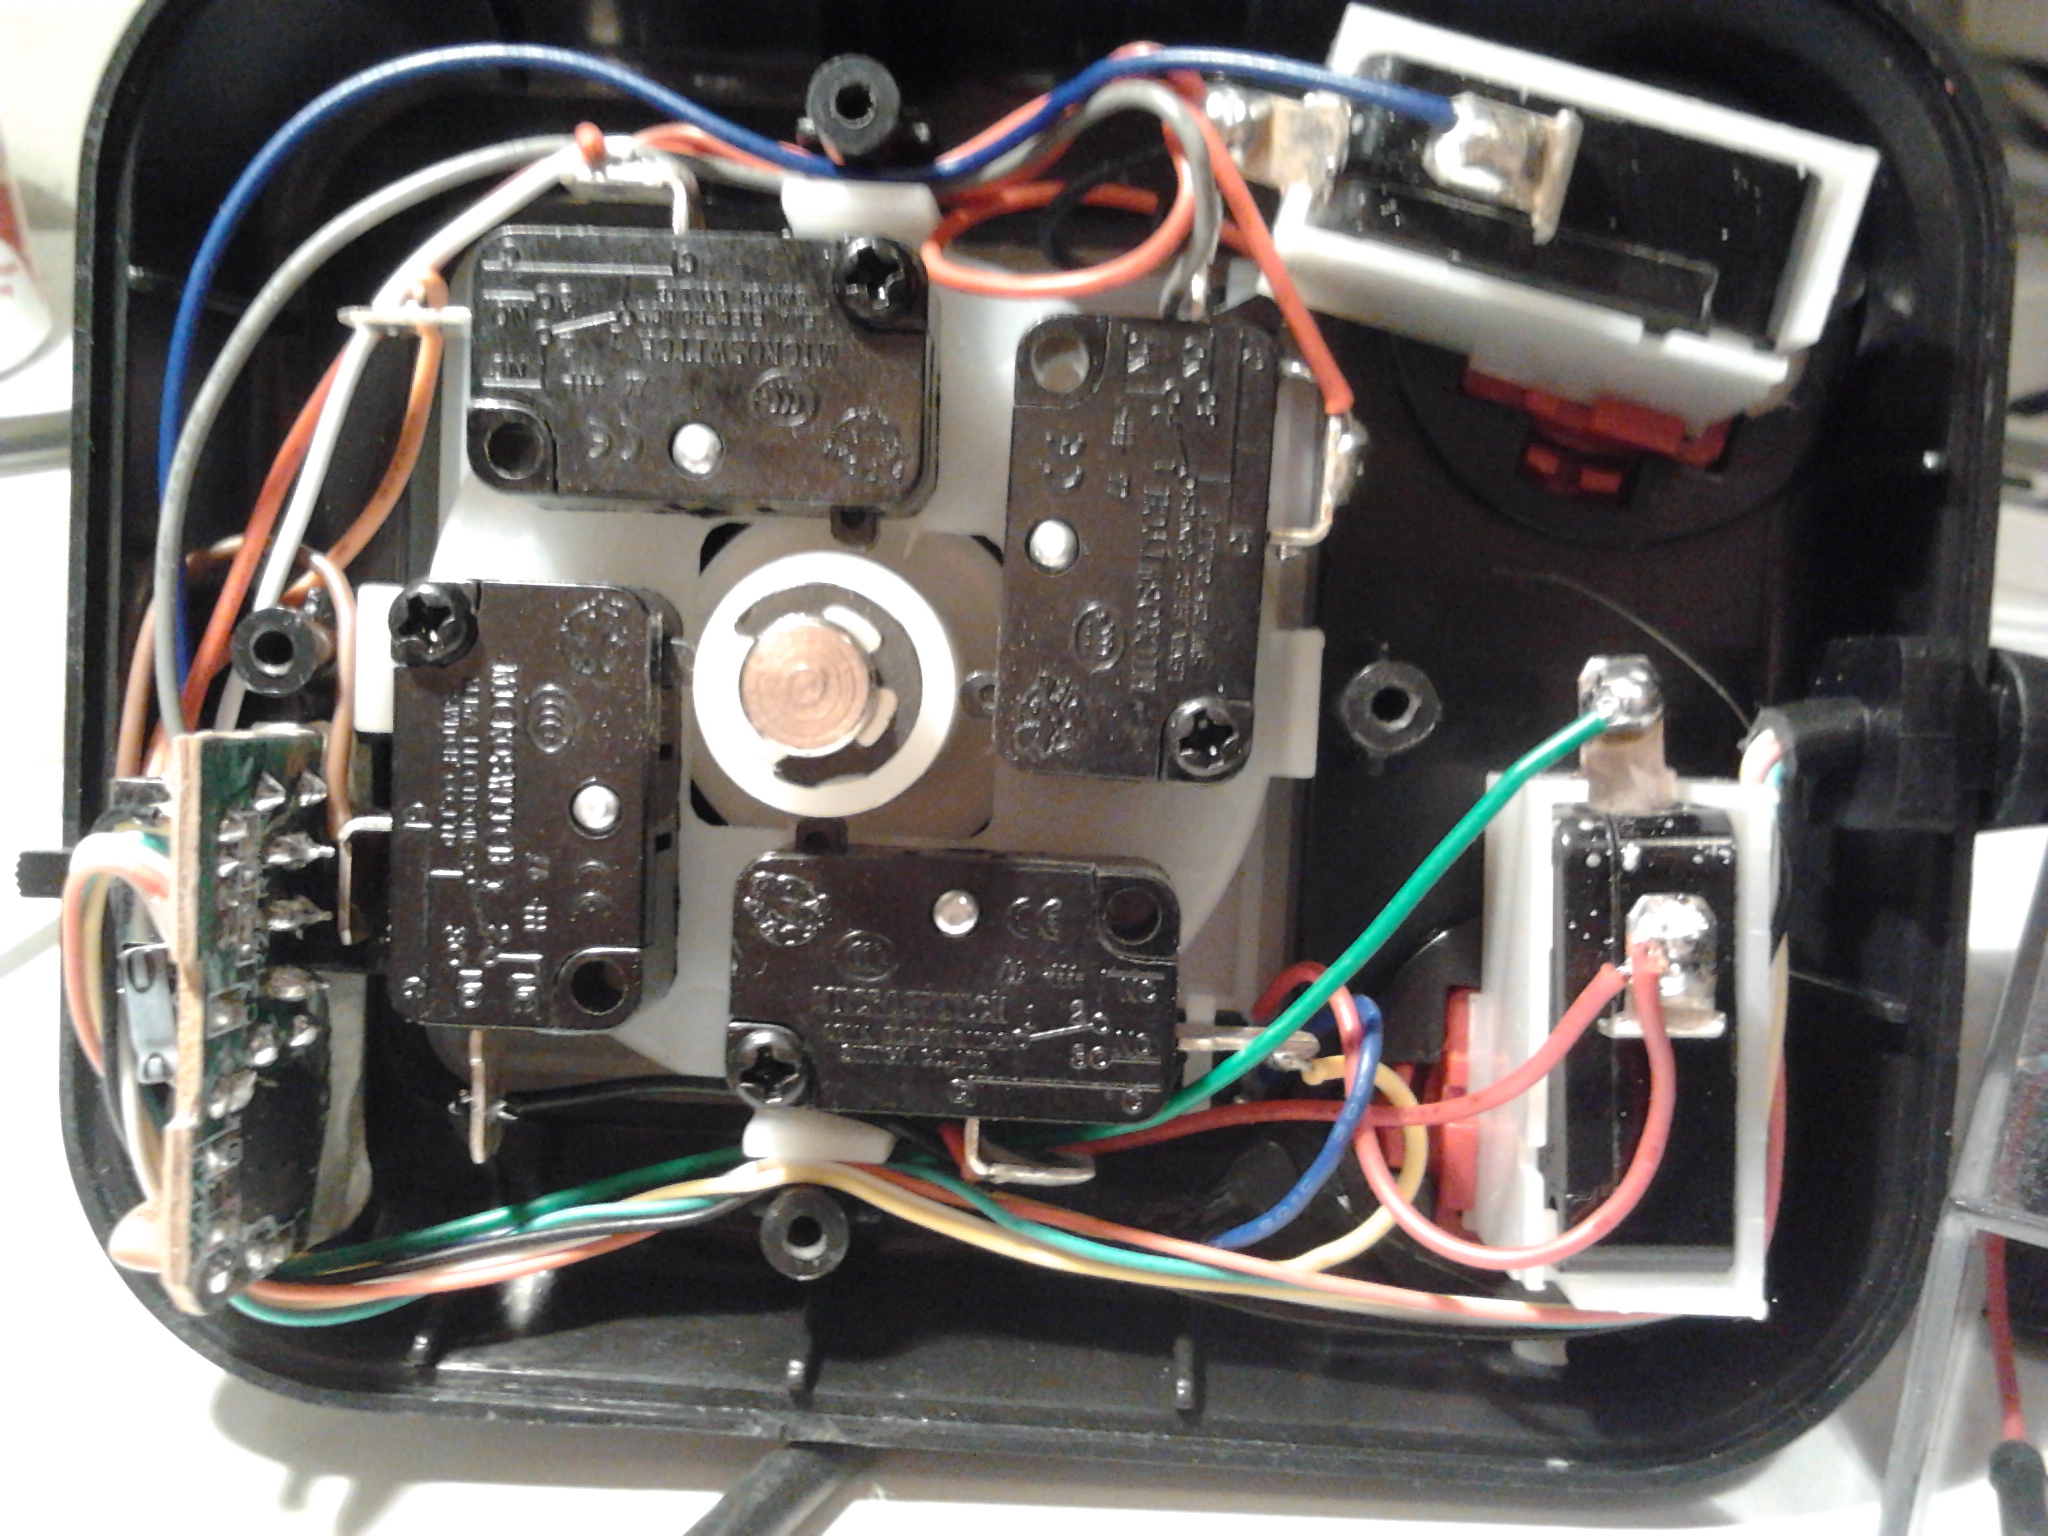
Opening the joystick revealed a simple system, just a circuit board and eight mechanical switches.

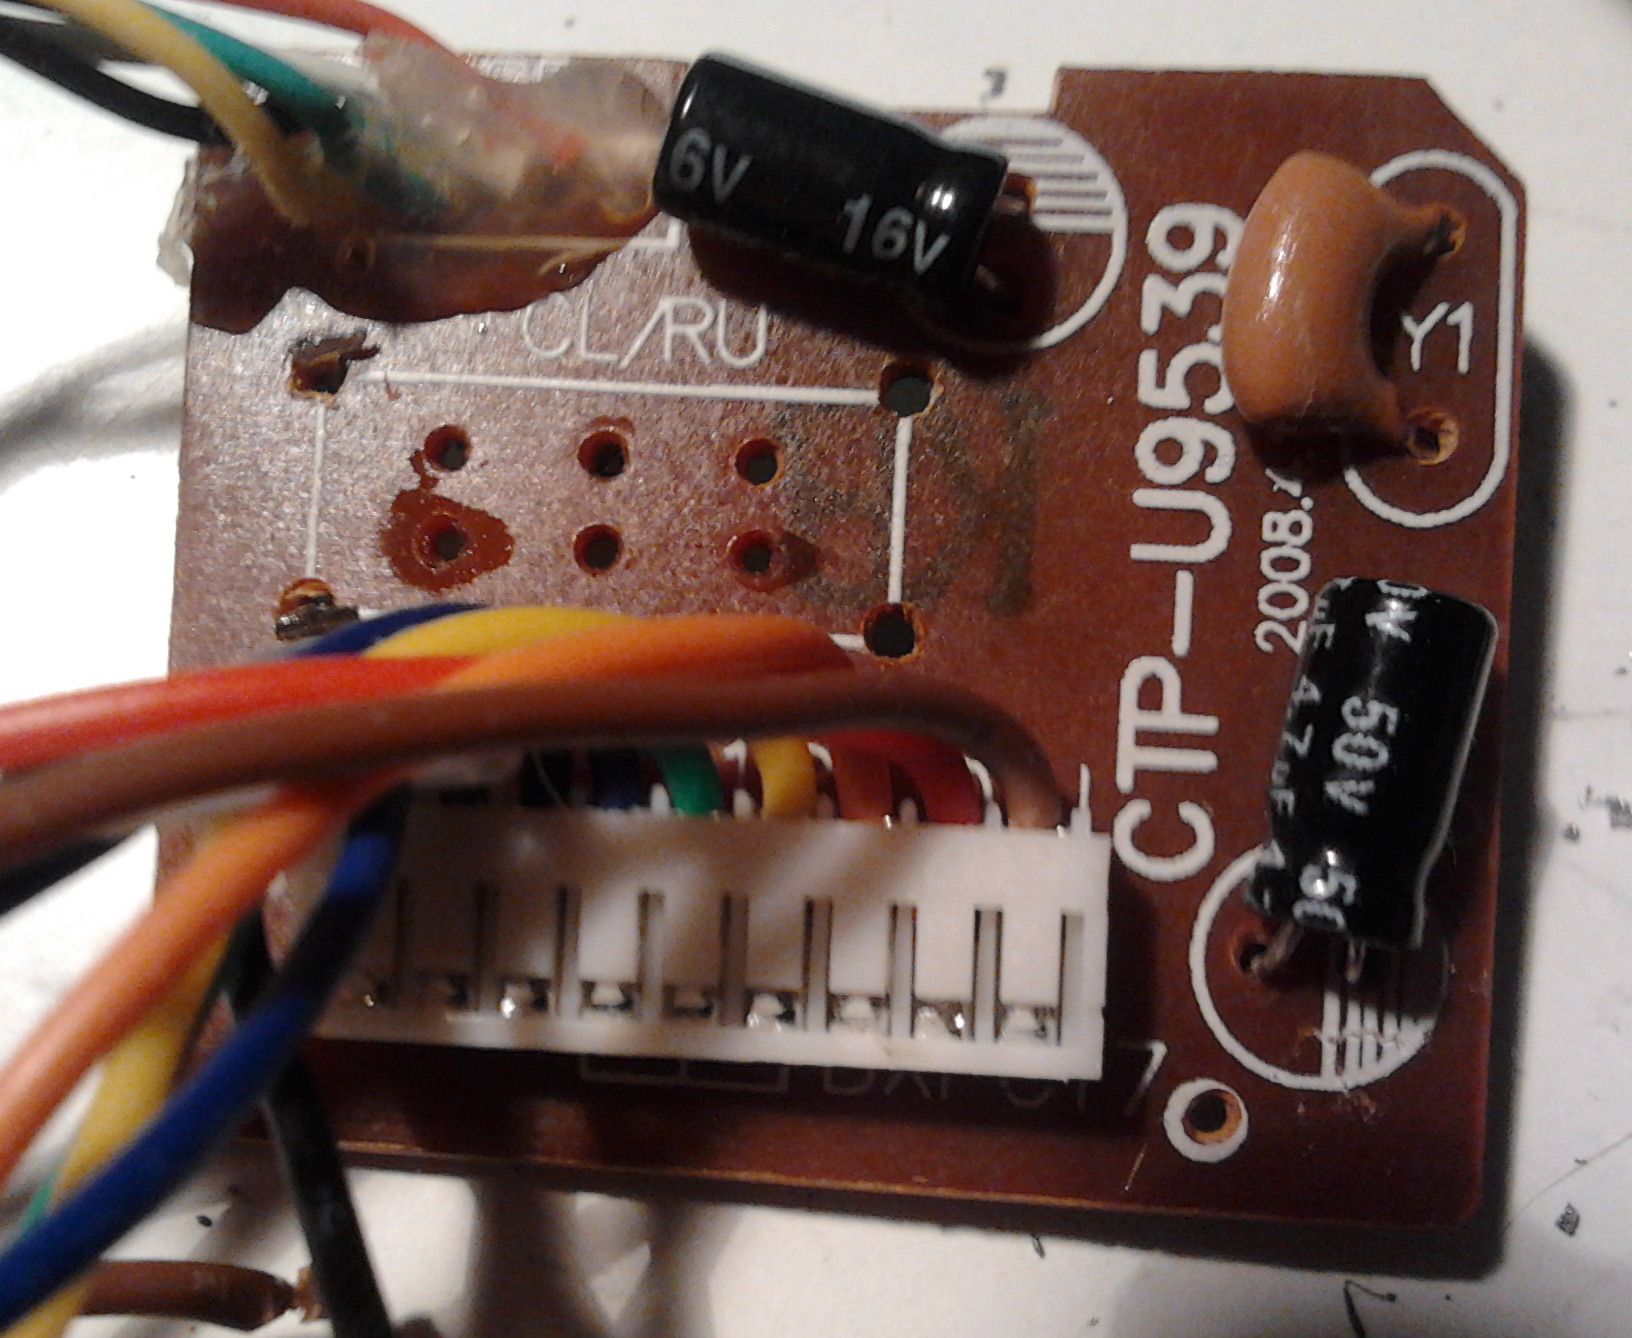
The smelly underbelly of the SpeedLink controller. Full size
The board was labeled CTP-U9539 2008.4.14. Four wires go to USB and 10 to the buttons. Even though it’s not visible in the picture, the wires are conveniently labeled so it was easy to figure out that two of the wires were ground and rest were the 8 digital buttons. I double checked this with a multimeter anyway.

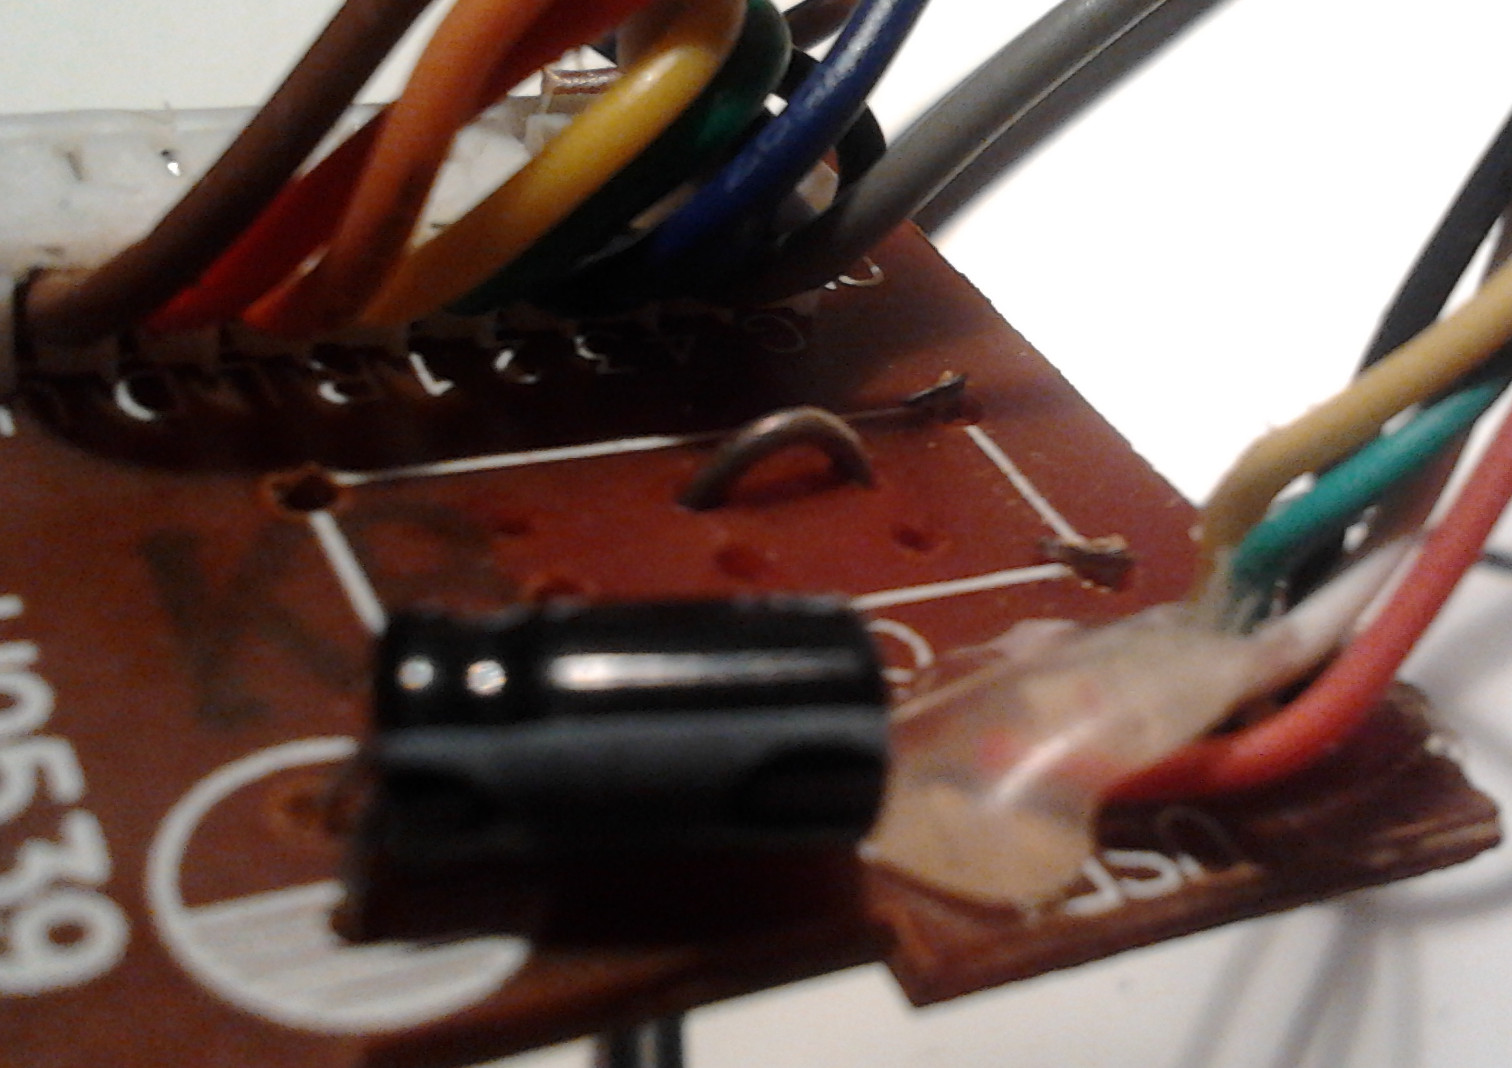
Circuit board of the joystick with the autofire switch removed. Full size
I removed the autofire switch and soldered in a nice little jump wire to set it permanently to OFF state.

The autofire switch jump wire. Full size
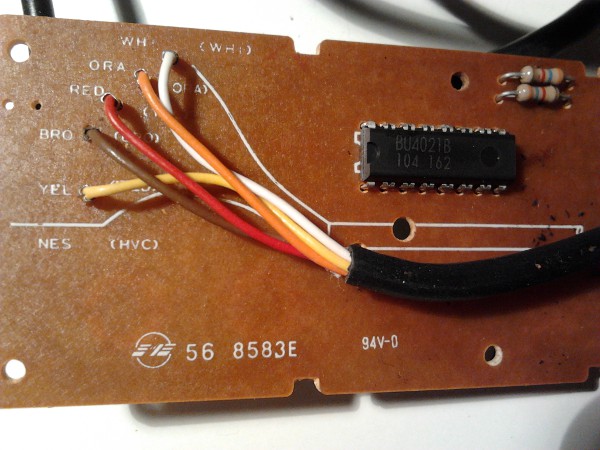
The untouched circuit board of a NES controller. Full size
I opened the NES controller and soldered off the shift register chip and all the wires and was left with an empty board.
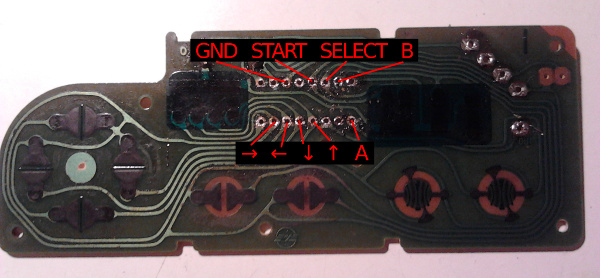
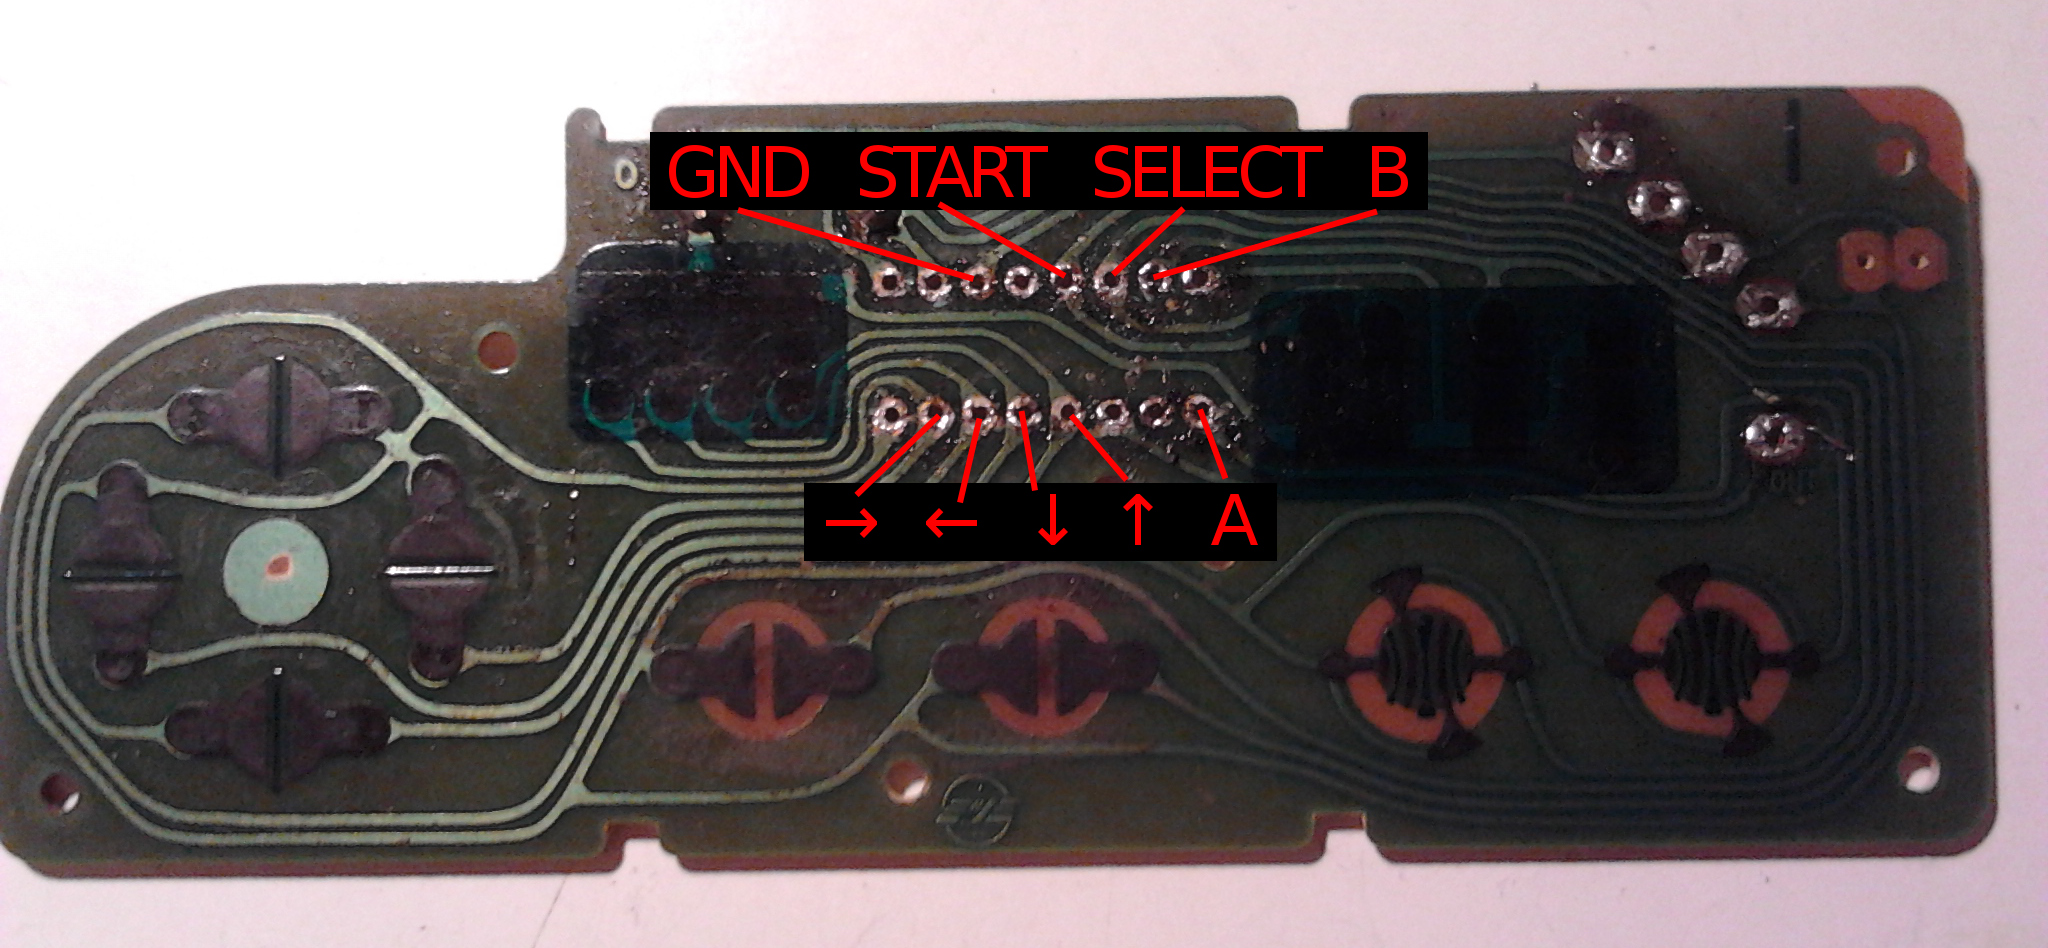
Empty circuit board of the NES controller. Pins for the buttons are marked in red. Full size
After that it was a matter of simply soldering the correct wires from the SpeedLink USB control board to the NES controller pins. Fitting it all inside the case was pretty difficult though. I had to file the border of the NES circuit board to have space to route all the wires to the other side. I also removed parts of the bottom half of the plastic case with a pair of pliers.
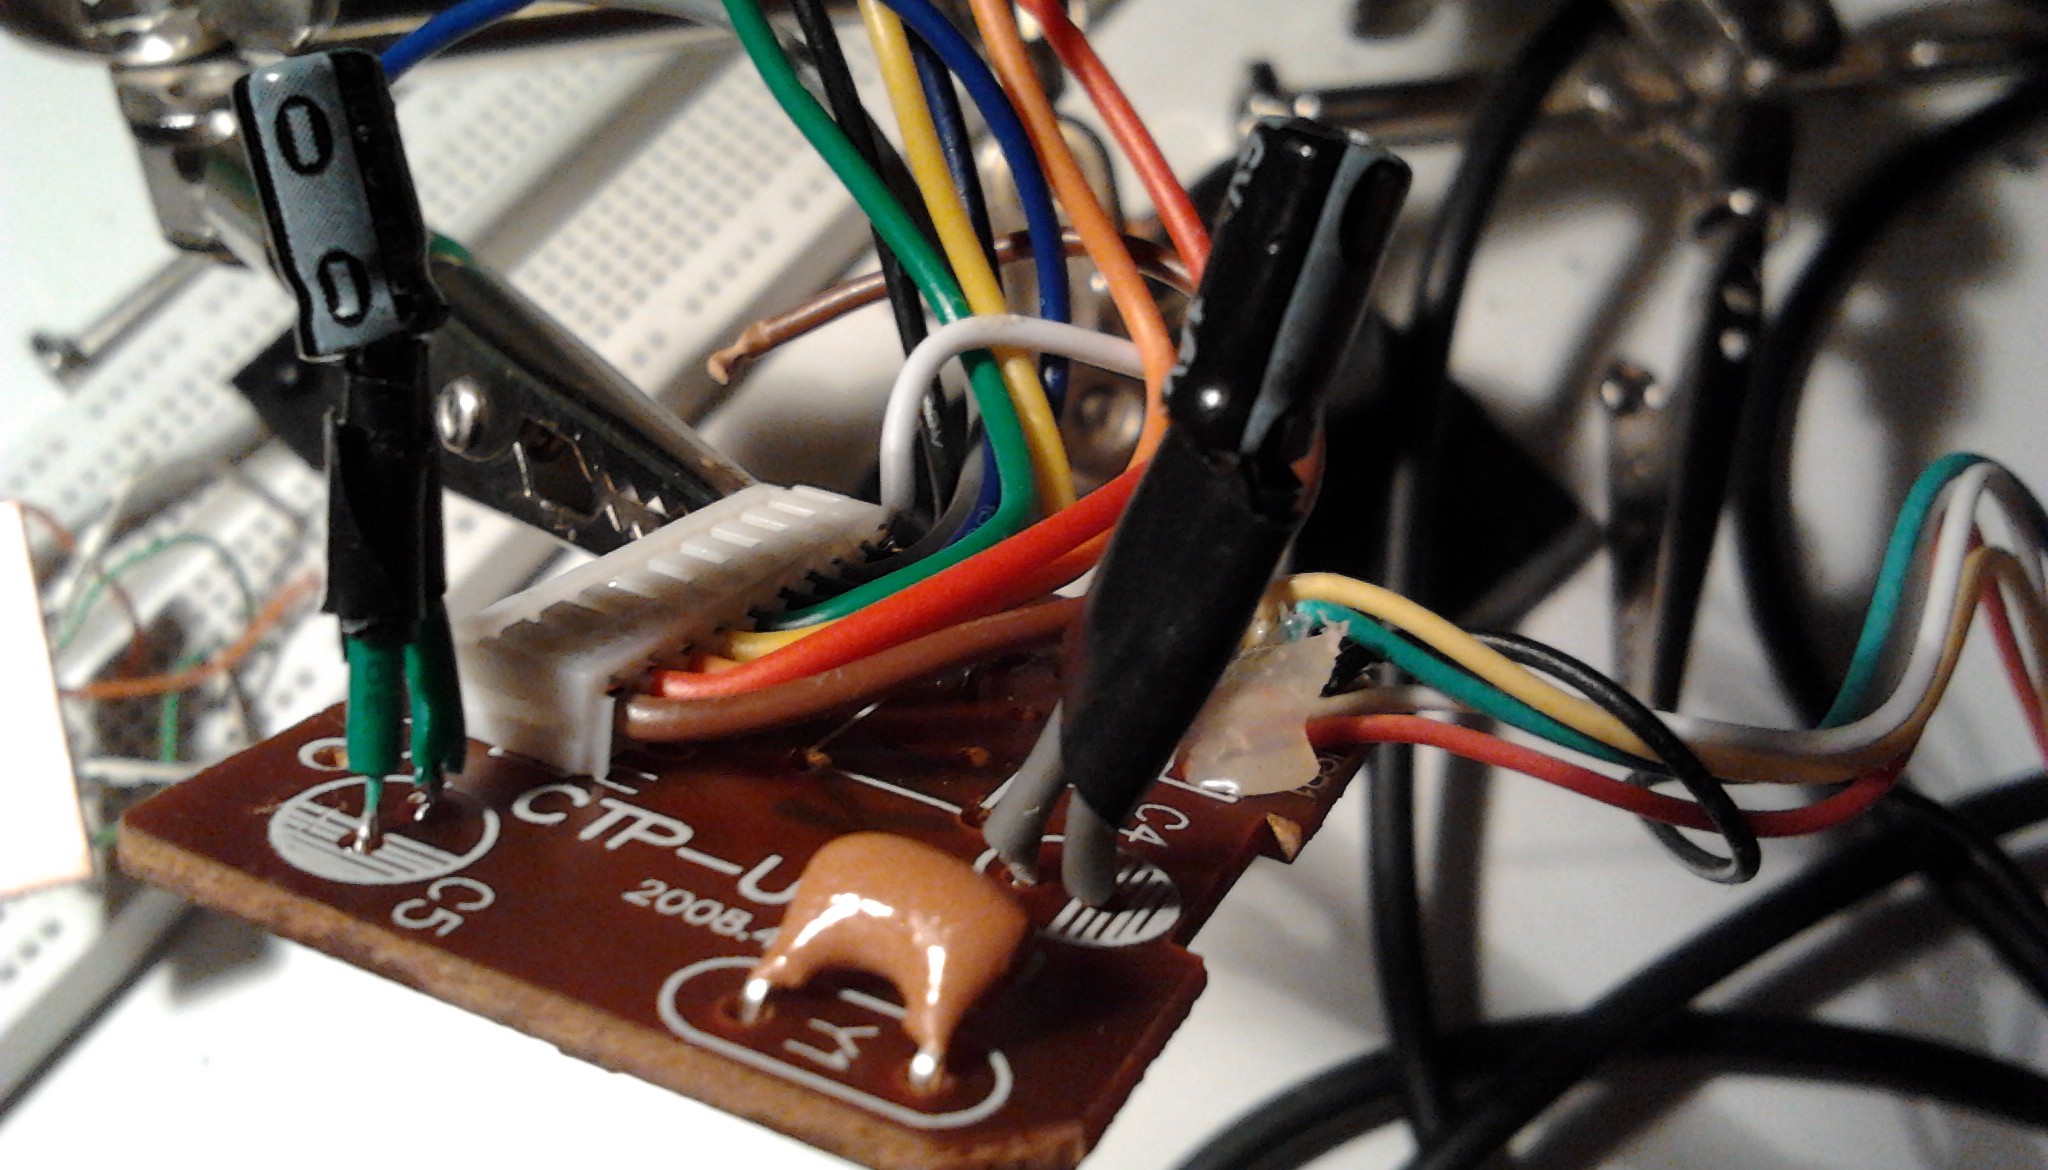
The two capacitors on the USB control board were too tall, so I extended their legs a bit with bits of wire so they could be pushed aside when assembling the case.

The funny extended legs of the capacitors. Full size
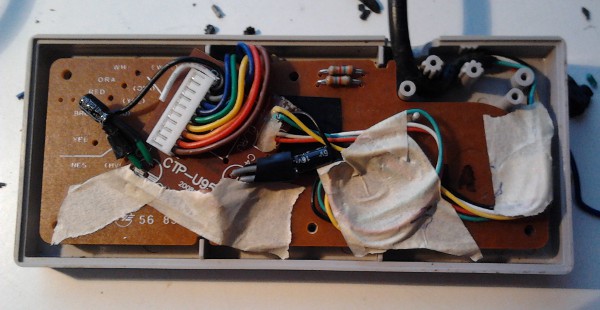
The internals of the modified controller. I had to use lots of masking tape to keep everything just so when assembling. Full size
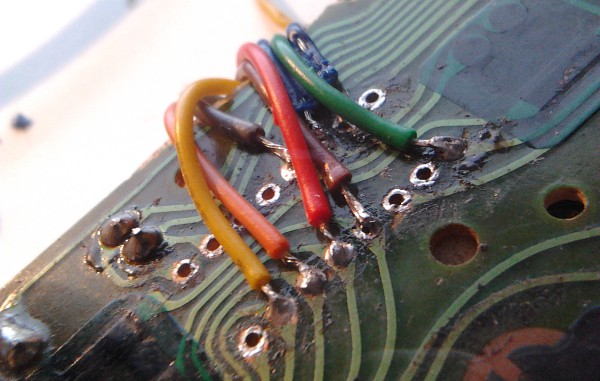
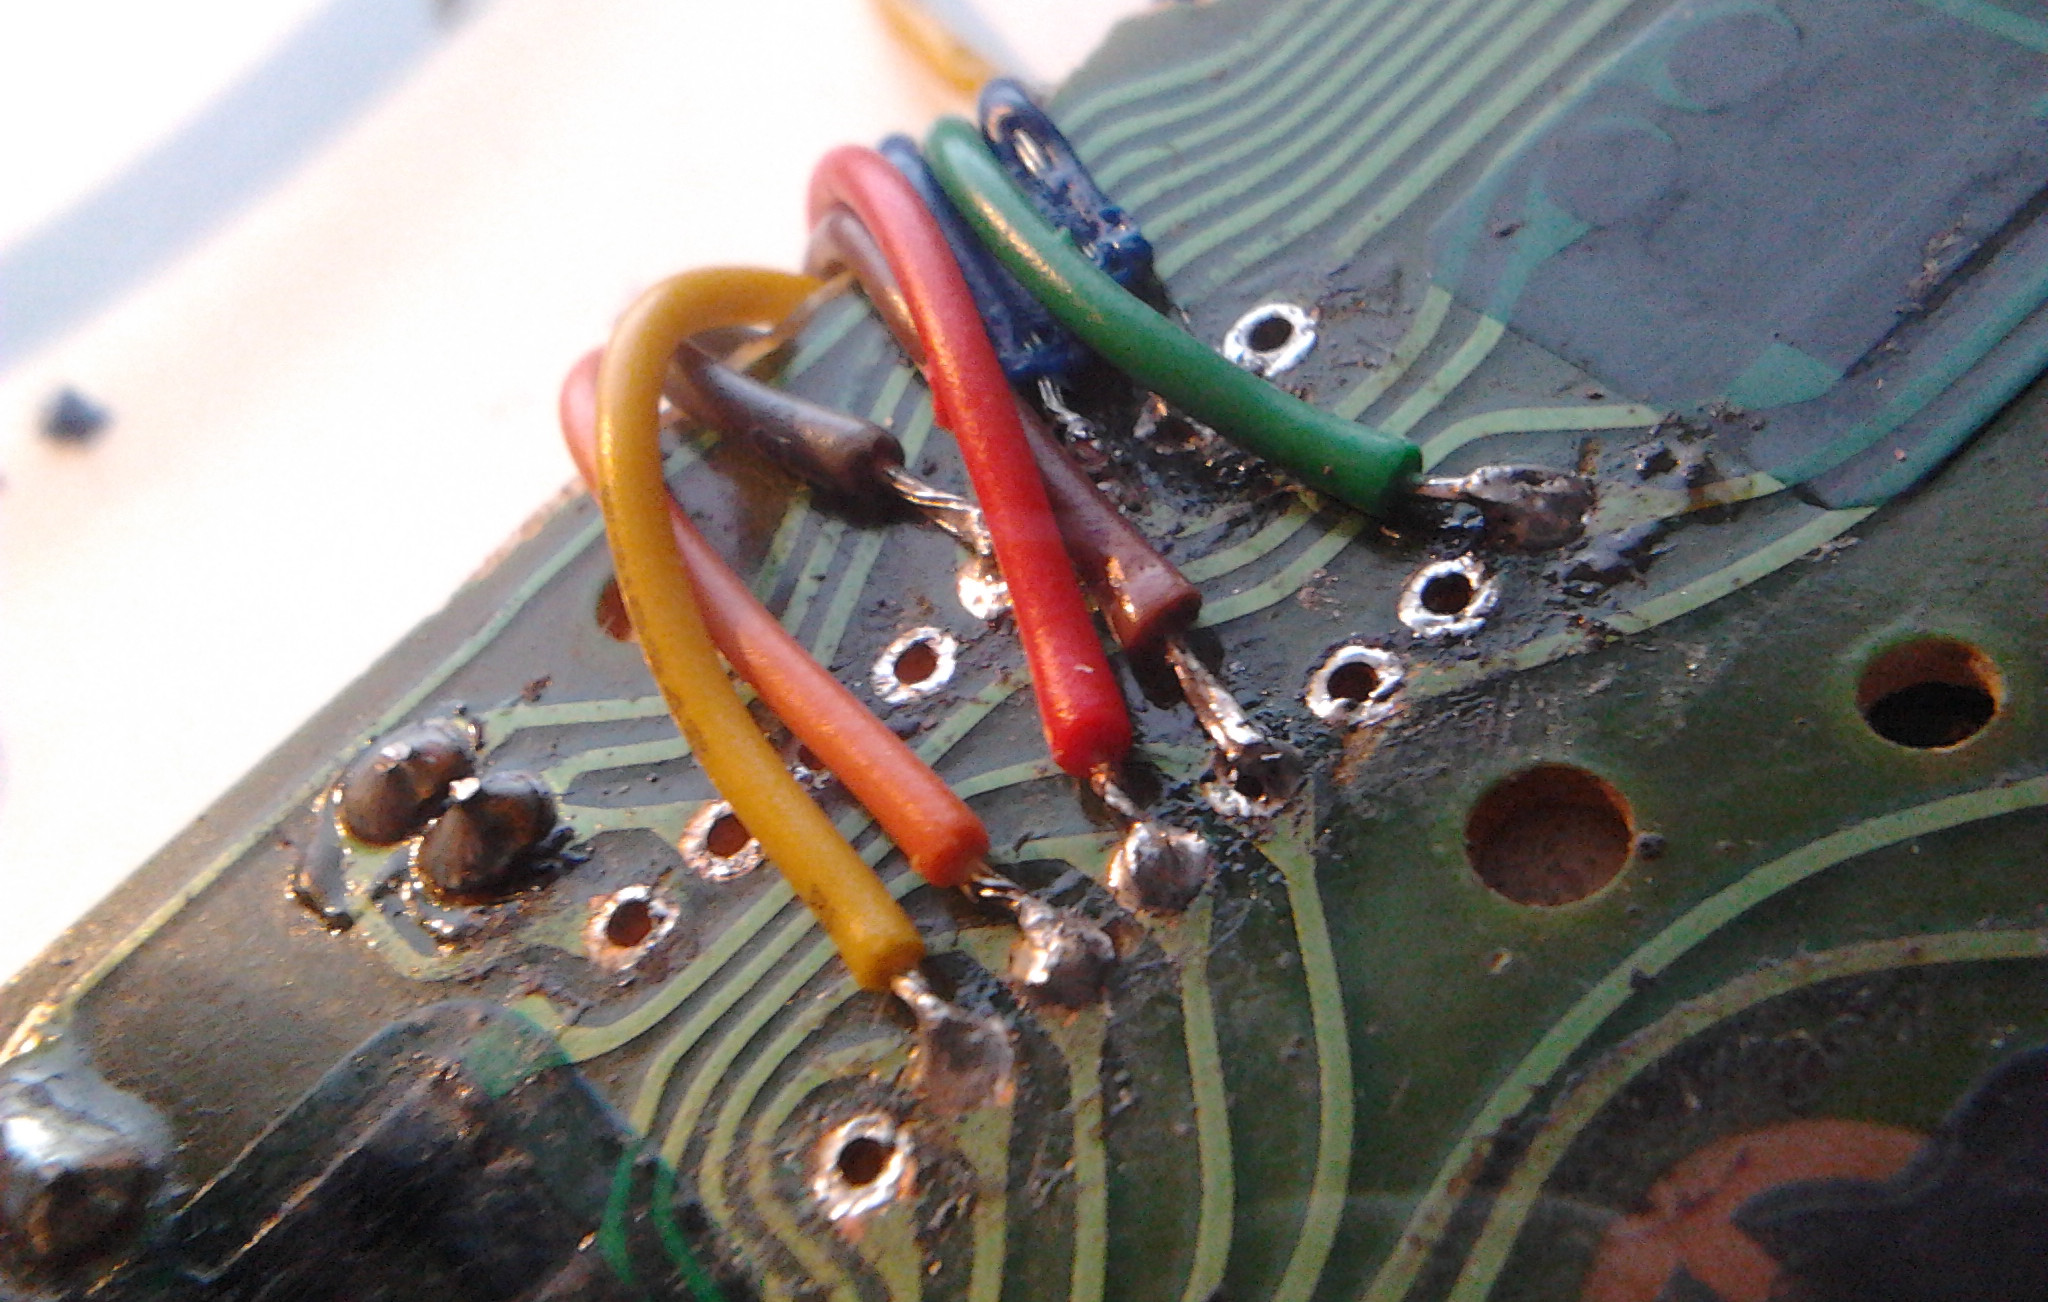
The USB control board wires soldered to matching NES controller pins. Full size
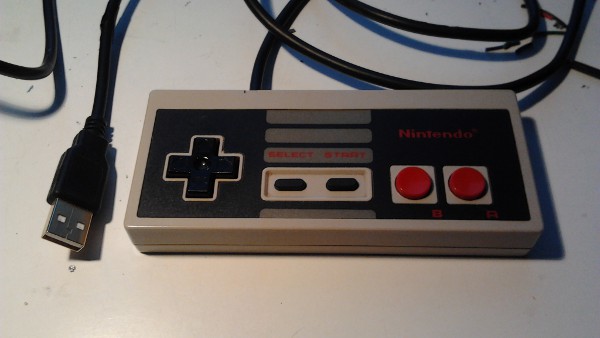
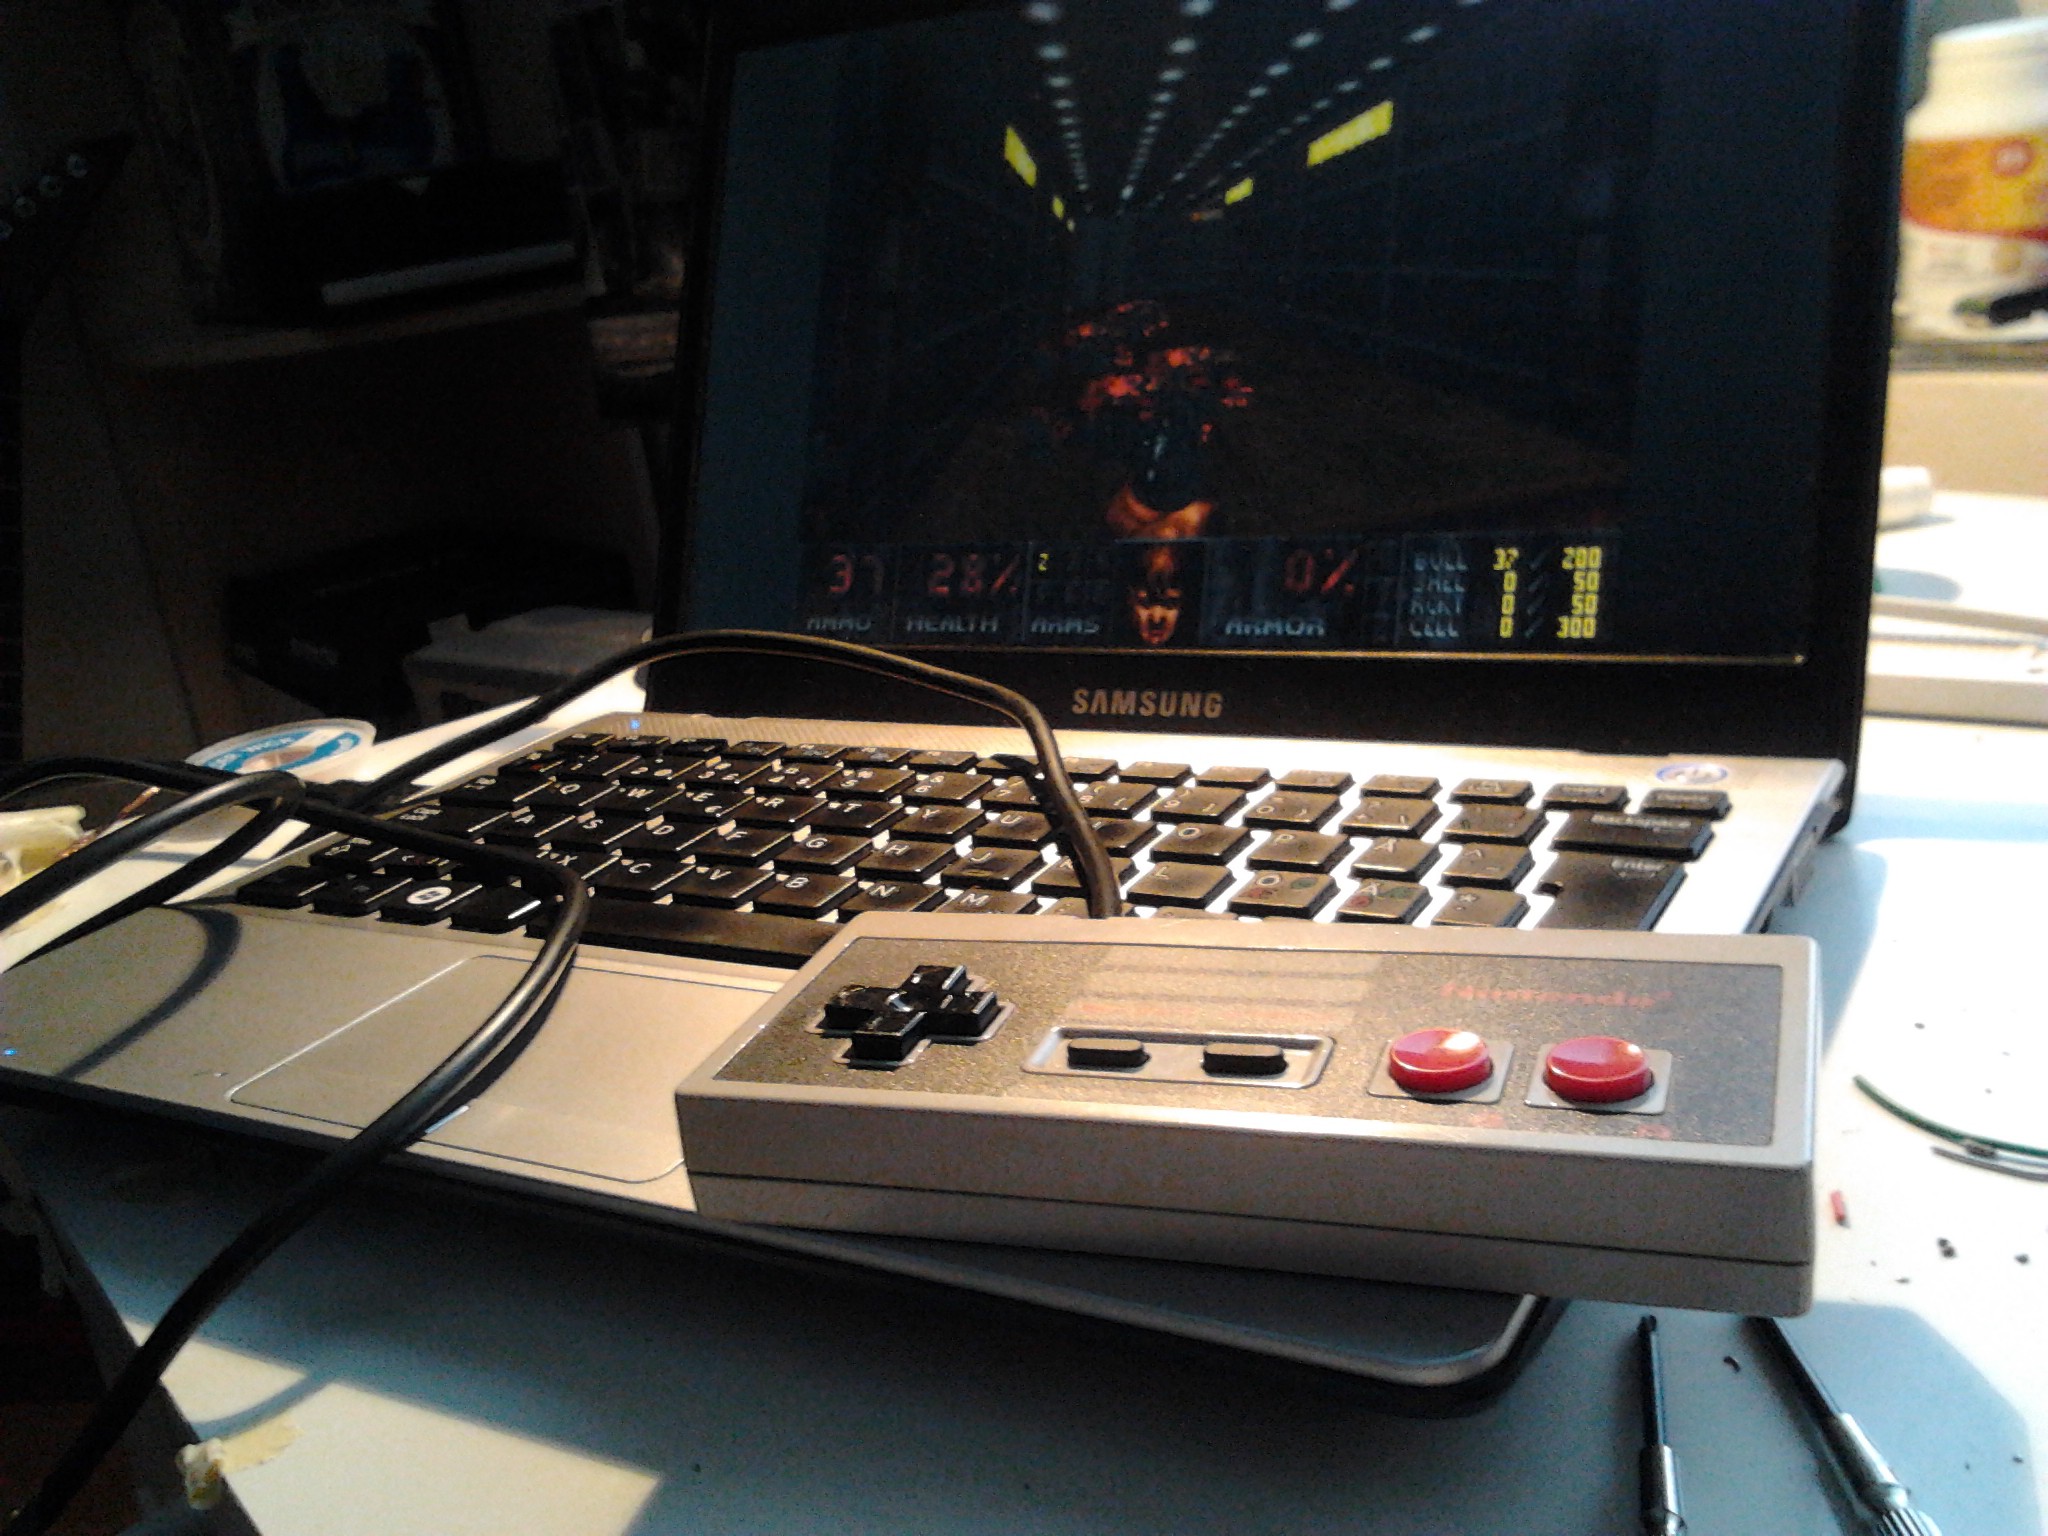
A NES controller with USB! Full size
I think this was enough soldering for me for a while :)