
A quick look at how to develop a simple Doom mod on the GZDoom engine and some tips on how to convert it to a standalone game.
I was interested in making a GZDoom total conversion, but I couldn’t find any simple overview in what goes in a mod. I thought it would be nice to document my findings.
Making a mod instead of a full game from scratch gives you a head start for development work since you can use a premade engine, and possibly some art assets too. We’ll be using a modern source port, and in this case it means GZDoom. There are also other alternatives available, but the GZDoom engine has an impressive featureset, and the community seems to be pretty active too.
In particular, these features caught my attention:
When compared to a modern game engine (UE 3, Source) these features don’t sound so promising, but you have to keep in mind these are addons to a 20 years old game :)
In this guide we’ll be using DOOM.WAD from the full version of Doom 1. The shareware version (DOOM1.WAD) will not suffice.
In original Doom all art assets and other game data were contained in a WAD file. A WAD file has no file hierarchy, and you need a special program to manipulate such packages, so you’re better off using a PK3 archive instead. A PK3 is nothing but a zip archive with a different file extension.
To make a mod you need to create a custom PK3 archive with all your modified game assets inside, and tell the GZDoom engine to load your file on startup. In order for the engine to use your archive it needs to have the following directories (for in-depth explanation see the PK3 wiki page)
patches/
graphics/
sounds/
music/
maps/
flats/
sprites/
textures/
hires/
colormaps/
acs/
voices/
voxels/
There’s also a handy ZDoom Mod Template available. You don’t need to use all the bundled build scripts though.
To start the game with your modifications you can compress the mod directory to a zip (or PK3) file and use the -file commandline switch with the mod archive as an argument.
gzdoom.exe -file mymod.zipYou can also tell the engine just to load the files from a directory by using a directory path as an argument instead.
In the Doom engine wall and floor textures were not stored the same way, so for historical reasons the ingame textures were separated in floors and patches (wall textures). With GZDoom you don’t have to worry about it though, since you can throw all your replacements to the textures/ directory.
If you want to replace a game sprite or a piece of a composite texture (i.e. a button on the wall) you need to place the graphics to the respective sprites/ and patches/ subdirectories.
So say we want to replace that ugly hangar floor from Doom E1M1 (the first level of the first episode that is) with something more civilized. So first fire up XWE and load DOOM.WAD to inspect the original contents of the level. We notice that the name of the texture we want to change is FLOOR4_8
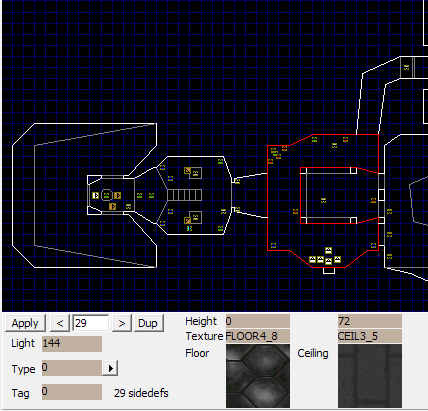
Inspecting E1M1 with XWE.
To replace it with a new texture simply place the new file in png format to the textures/ subdirectory. The directory structure is then as follows
gzdoom/gzdoom.exe
gzdoom/fancy/textures/FLOOR4_8.png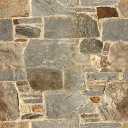
The new floor texture
You can then start the game with your mod with the following commandline parameters
gzdoom.exe -iwad DOOM.WAD -file fancy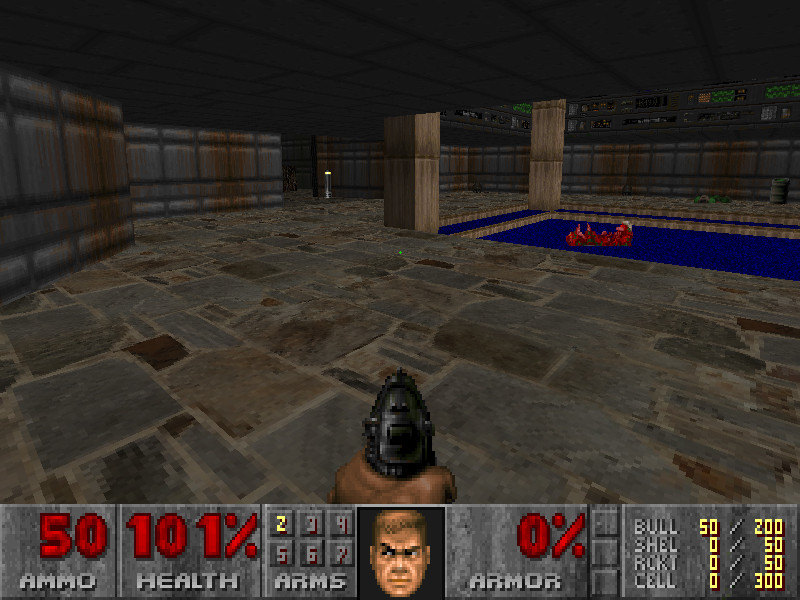
The floor texture in game
And there you go!
If you want custom textures with composite elements or scaling, you need to add them to your mod’s TEXTURES file.
If you want to release your mod to the world as a standalone game, you can bundle the GZDoom engine with your PK3 file. By default ZDoom and its derivatives need you to specify an IWAD, but you can circumvent this by modifying the iwadinfo.txt file in the bundled gzdoom.pk3 archive. You can also simply name your game archive as DOOM2.WAD and let the engine think your game is Doom 2 :)
In order for the GZDoom to “boot” into your IWAD it needs to have at least the following files
We will create a tiny (and useless) game archive file, and modify iwadinfo.txt to allow us to use it as a standalone game. So first we will create a new directory and place three empty files called PLAYPAL, COLORMAP and THEGAME to the directory. Even though the palette file is just a placeholder GZDoom will start up fine. So the game directory will look like this
gzdoom.exe
mygame/PLAYPAL
mygame/COLORMAP
mygame/THEGAME
Then we’ll add the following entry to the iwadinfo.txt in gzdoom.pk3. You need to extract the pk3 contents first and then compress it back after editing. Add the following lines to the top of the iwadinfo.txt
    IWad
    {
        Name = "My game"
        Game = "Doom"
        Config = "MyGame"
        Mapinfo = "mapinfo/doom2.txt"
        MustContain = "THEGAME"
        BannerColors = "6e b4 d6", "45 4f 7e"
    }
As you can see, THEGAME is used as an identifier to separate our own IWAD from other games. If you want to have a custom wad name (and you don’t use a game launcher) you can also edit the Names list at the bottom of this file.
After creating a mygame.pk3 archive with your files inside, start GZDoom
gzdoom.exe -iwad mygame.pk3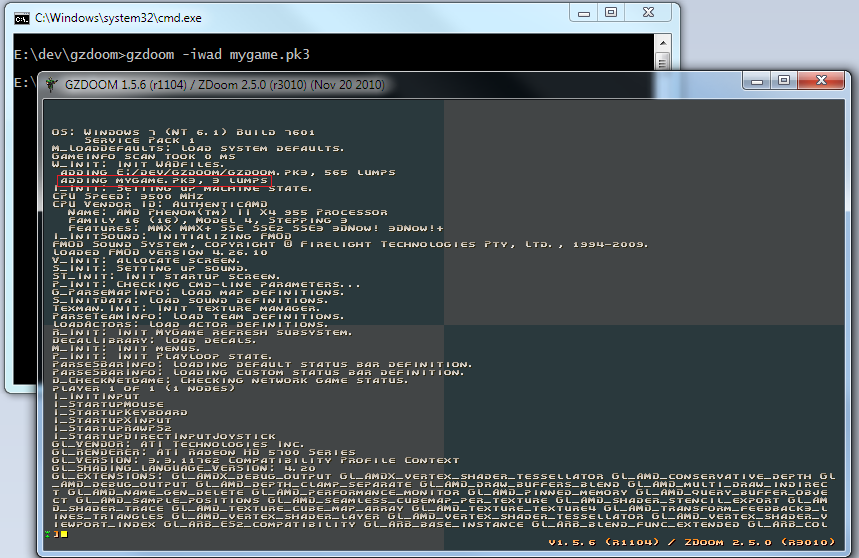
Success! GZDoom is loading our IWAD
If you’re serious about making a standalone game, you might want to make some tweaks to the engine itself. When compiling GZDoom on Windows 7 64-bit I had to perform the following steps:
intrin.h (forum discussion)glext.h and wglext.h from Microsoft Visual Studio 10 include dirs, and place them in their own include directory
To make levels, you should use GZDoom builder. Even though we are using the technically superior PK3 as the game archive format, the maps are still saved as WADs.
GZDoom supports multiple map formats (they all have the .wad extension though), but UDMF format is the most advanced one. Use it!
To insert ACS scripts to your levels you can use the internal editor of GZDoom builder, or write your scripts as plaintext files and then compile them to object files with ACC. The FBInserter utility can add the object files to your map WADs from the commandline. There’s a good example of this in the ZDoom Mod Template.
In order to use MD2 or MD3 models in GZDoom you need to replace one sprite with the model you want to use. So you cannot just load a model, you need to
Please note that you cannot set the actor sprite to be invisible (e.g. TNT1), since then the model won’t show up either. So use some other sprite like POSS instead.